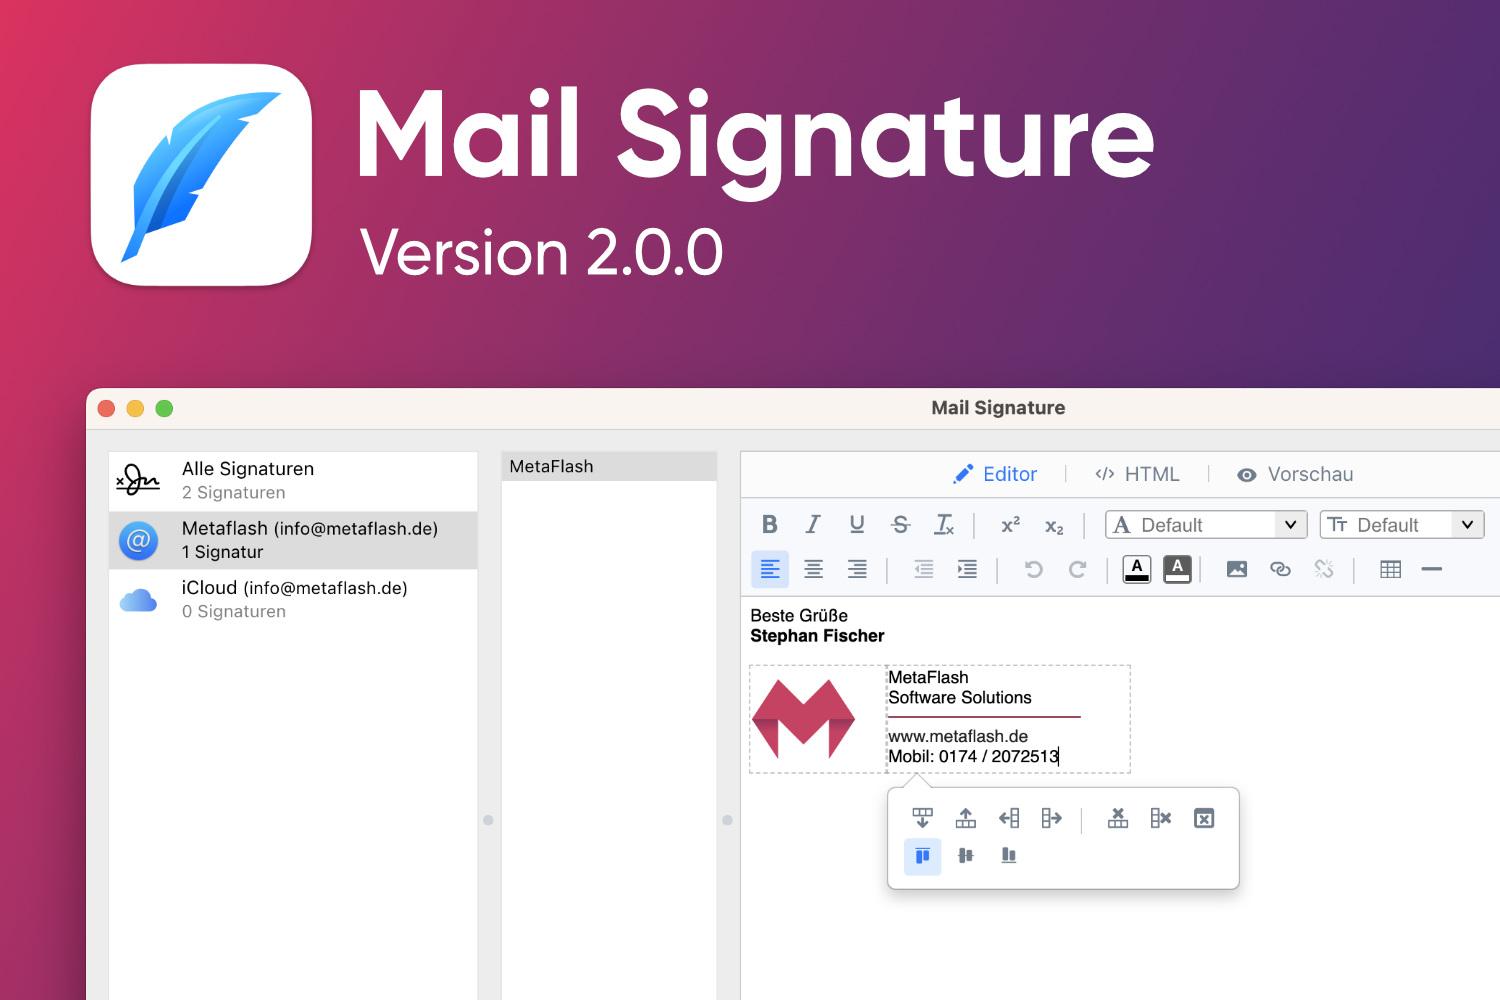
The Pro version (In-App Purchase) receives a major update with several new features.
Overview:
✓ Table function
✓ Horizontal or vertical dividing line
✓ Indent & Outdent
✓ Choose fonts and sizes individually
✓ HTML editor now with validator and statusbar
✓ HTML import
✓ Image Resize Tool
✓ Link indicator
✓ Preview mode (also available in Free version)
✓ Languages
✓ Further links
Table function
Insert a table
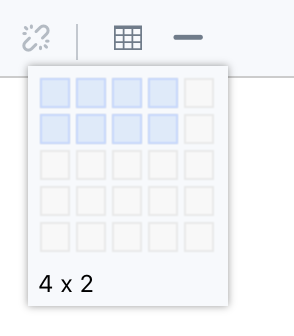
In the visual editor, place the cursor where you want to insert the table. Click on the “Table” icon in the toolbar, then drag the cursor over the grid and highlight the number of columns and rows you need. Per grid, a maximum of 10 rows x 10 columns is possible.
Note: It is currently not possible to insert a table within a table cell.
Add / delete columns and rows in a table
Put your cursor wherever in the table you want to add / delete a column or row. Then a popover appears with various functions:
![]() Insert a row above or below.
Insert a row above or below.
![]() Insert a column on the left or right.
Insert a column on the left or right.
![]() Delete a row or column.
Delete a row or column.
![]() Delete the entire table.
Delete the entire table.
Note: The dashed table frames are only for orientation in editing. In Mail or in the preview, these frames are invisible.
Horizontal or vertical dividing line
You can add lines to the signature to separate sections of text and to make them visually appealing.
Insert dividing line
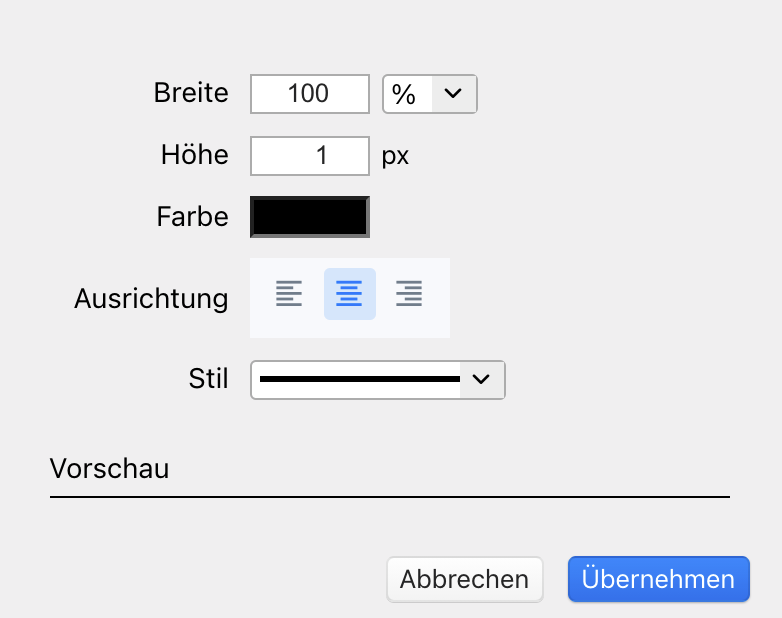
Place the cursor at the required position in an empty line. In the toolbar click on the symbol![]() , then a dialogue opens. Here you can define the width and height of the line as well as the following attributes:
, then a dialogue opens. Here you can define the width and height of the line as well as the following attributes:
Color
Use the color picker or the hex code to set any color.
Alignment
Set the required alignment of the line:
- Left-aligned
- Centre-aligned
- Right-aligned
Note: With a width of 100%, this option makes no sense.
Line styles
The types of line: solid, dashed, dotted, double or lines with shadow effect.
Edit divider afterwards
Double-click on the divider to edit it.
Tip: Insert vertical dividing line
Vertical lines can also be inserted using the same dialogue box. Enter 1 px for the width and the required number of pixels for the height, e.g. 100 px. The dialogue has a preview that always shows you the currently set style of the line.
Indent & Outdent contents
Put the cursor in a line or select a word, a line, a text, an image or a whole table that you want to indent and click on the icon![]() in the toolbar. The selected content will be indented to the right. If you want to outdent it (to the left), click the icon
in the toolbar. The selected content will be indented to the right. If you want to outdent it (to the left), click the icon ![]() .
.
It is also possible to indent and outdent the contents of a table.
Note: At the moment there are no key combinations available to indent or outdent.
Choose fonts and sizes individually
The free version of Mail Signature App supports common fonts, such as:
- Sans Serif
- Serif
- Arial
- Courier New
- Comic Sans MS
- Helvetica
- Trebuchet MS
- Georgia
- Tahoma
- Times New Roman
- Verdana
In the Pro version (In-App Purchase) it is now possible to use your own fonts in the visual editor. Until now, it was only possible to specify custom fonts using HTML code.
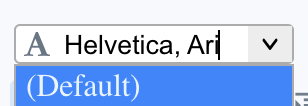
In the field “Fonts” in the toolbar you can define any font. Select the required text and choose or write a font in the field. You can specify multiple fonts separated by a comma, e.g: Helvetica, Arial, Tahoma, Verdana
If Helvetica is not available on the recipient’s system, the next font will be checked and used if necessary. If the recipient has only Verdana, it will be used.
This way you can design your signature in a variety of fonts and sizes.
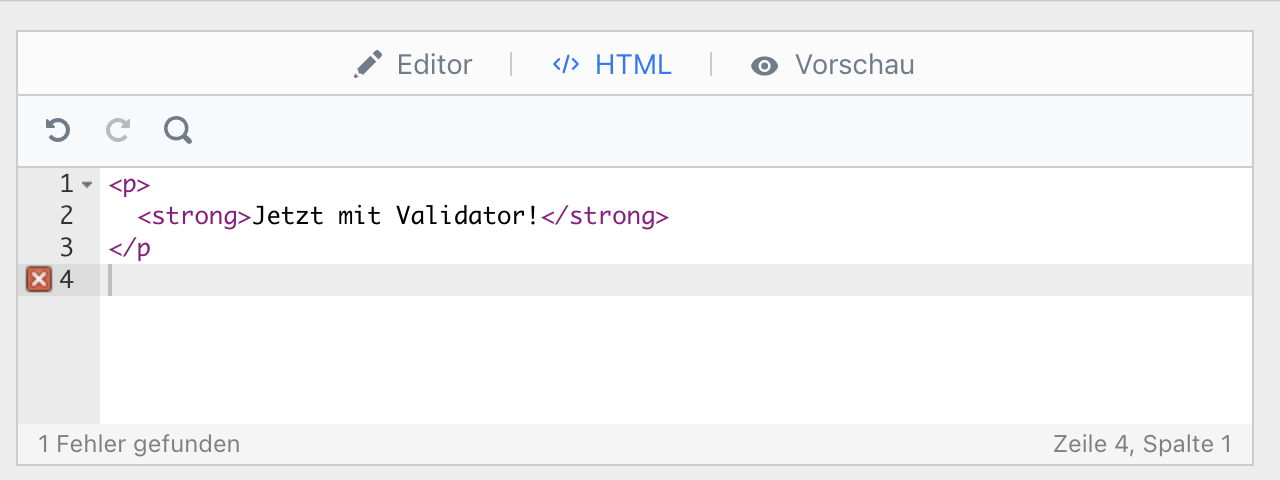
HTML editor now with validator and statusbar
HTML mode checks the entire code for errors and displays them, if applicable, on the sidebar and in the status bar. The status bar also shows the current cursor position, as well as the selected words.
HTML import
Import and export of HTML .html / .htm files is now possible. The export mechanism converts all attached images into Base64 images. Thus, all image attachments are included as HTML tags in the HTML file. The import, in turn, automatically converts these image tags into attachments.
Image Resize Tool

Resizing can be done in the visual editor from now on. But check in the image dialog if the Retina standard is preserved for attachments.
For this purpose, click on the required image to select it. A blue frame appears around the image. Drag the point at the lower right corner of the image until the desired size is obtained. A small display next to the image shows the current image size.
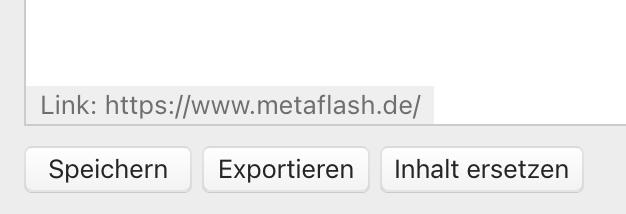
Link indicator
The link indicator is a small box that appears at the bottom left of the visual editor when the cursor is over a link. This allows you to check the current linking immediately.
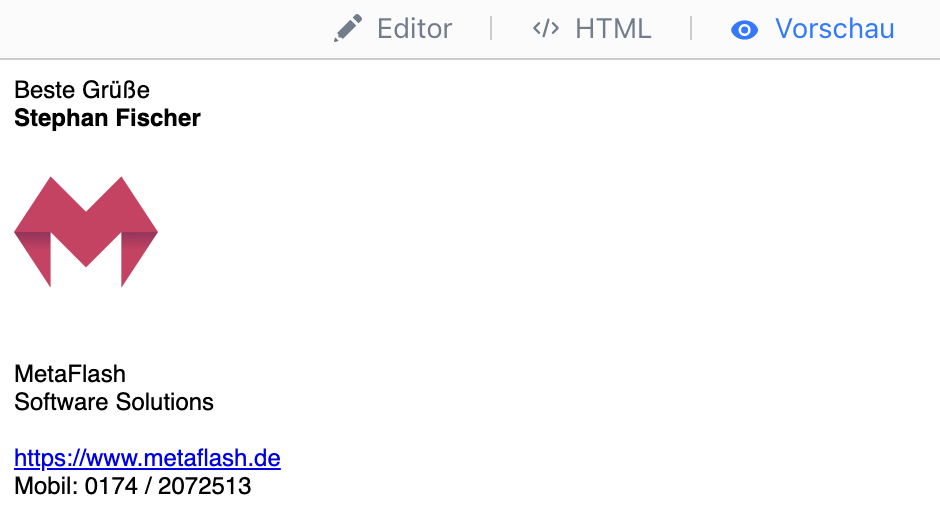
Preview mode (also available in Free version)
In the preview window you can check the signatures how they will appear in the final email. This area serves only to review the final appearance of the signature.
Languages
Until now, the Mail Signature app was only available in German and English.
Now the app is also available in other languages such as Spanish, French and Russian.
Enjoy the new version!
To the App Store
To the Mail Signature App